


Does Rubber Rot? The Truth About Rubber’s Lifespan
11/12/2025How Seaward Sea Guard Marine Fenders Reduce Impact Damage
11/14/2025How do you install D type rubber fenders
When a vessel hits the dock too hard, the cost isn’t just a scratch—it can mean hours of downtime and thousands in repairs. That’s why installing D type rubber fenders the right way is so important. Whether you’re designing a new berth or upgrading an old one, this guide will walk you through everything from preparation to final inspection.
What Are D Type Rubber Fenders?
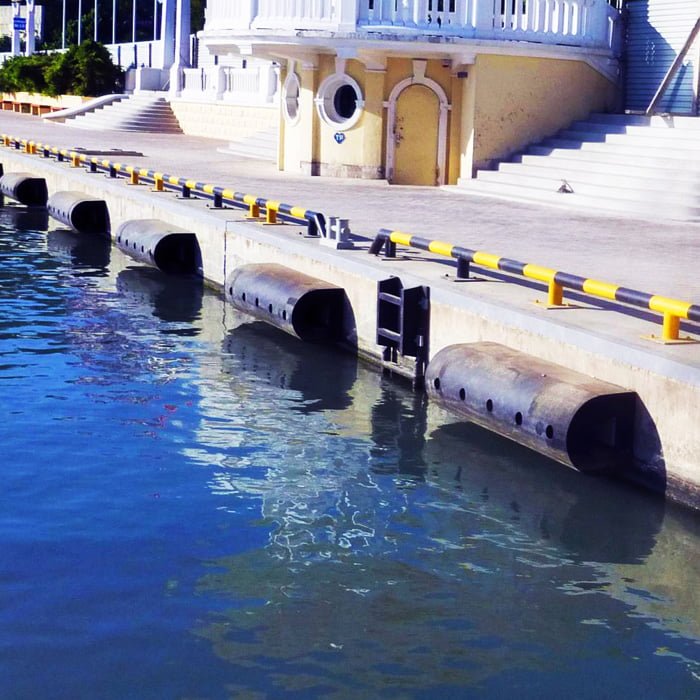
D type rubber fenders (also called marine D fenders or D fenders) are popular for docks, piers, and workboats.
They have a flat back and a semi-circular front—forming the shape of a “D.” This design allows them to absorb impact while staying firmly fixed to a wall or hull.
Main advantages:
- Compact shape, easy to install even in tight spaces
- Excellent energy absorption
- Simple replacement process
- Cost-effective compared to cylindrical fenders

Preparation Before Installation
Installing fenders isn’t just about bolting them in place. It starts with planning.
- Evaluate your site:
Check ship sizes, hull shapes, approach speeds, and tidal variations. These factors define the right fender size and layout. - Choose the right model:
D type fenders come in different diameters, hardness levels, and energy absorption ratings.
Example: D300 vs. D400 differ in height and compression capacity. - Select the fixing method:
- Bolt-through mounting (for concrete or steel structures)
- Chain or rod suspension (for floating pontoons)
- Slide rail systems (for easy removal or maintenance)
- Check the environment:
Saltwater, ice, or chemical exposure may require a protective coating or stainless fittings.
Common Fixing Methods
Different terminals use different setups depending on their structure:
- Bolted type: simple, strong, and widely used.
- Flanged type: includes a steel plate between the fender and wall for extra strength.
- Chain-suspended: allows vertical movement, great for floating docks.
- Sliding track type: makes maintenance faster, ideal for high-traffic berths.
Illustration suggestion: small sketches showing bolt, flange, and chain installations.
Step-by-Step Installation Guide
1. Measurement and Marking
Use a laser or level to mark fender positions along the quay wall.
Ensure fenders align with the vessel’s contact line.
2. Base and Embedded Parts
For concrete docks, pre-install anchor bolts or embedded steel plates.
Recommended bolt sizes: M20–M24 (verify by design load).
The foundation must be flat and clean.
3. Positioning the Fender
Lift the fender carefully—using straps, not hooks—to avoid damage.
Align holes and fix it temporarily with a few bolts.
4. Bolt Tightening
Use a torque wrench to tighten all bolts gradually in a cross pattern.
Avoid over-tightening; it can deform the rubber.
5. Chain or Rod Connection (if used)
Check chain length and angle (usually 30–45°).
Hot-dip galvanize or coat all metal parts for corrosion protection.
6. Final Adjustment
Check the vertical alignment and spacing between units.
Leave a small gap (around 10–15 mm) to allow thermal expansion.
7. Inspection
After installation, check:
- Bolt torque and locking nuts
- Fender height alignment
- Surface condition (no cracks or bubbles)
Illustration suggestion: installation sequence in 6–8 clear steps.
Layout and Spacing Tips
- Spacing: usually 0.5 – 1.0 × fender width between each unit.
- Length: continuous fenders for small boats; modular fenders for large berths.
- End treatment: round the ends or add end caps to prevent tearing.
- Energy check: ensure total fender energy ≥ ship’s berthing energy (from design sheet).
Testing and Acceptance
Once installation is done:
- Check bolt torque again after 24 hours.
- Test by light berthing—observe compression and rebound.
- Record results for final approval.
Attach these documents to your handover package:
- Material certificates
- Installation drawings
- Inspection checklists
Maintenance and Inspection
Regular checks keep your D type rubber fenders working for years.
| Frequency | What to Check | Action |
|---|---|---|
| Weekly | Surface damage | Clean & inspect |
| Quarterly | Bolt tightness | Retighten if loose |
| Yearly | Rubber hardness & cracks | Replace if degraded |
| 3 Years | Chain condition | Re-galvanize or replace |
Tips:
- Never paint rubber surfaces.
- Keep barnacles and oil off.
- Record every inspection for traceability.
Common Installation Mistakes to Avoid
- Mounting too low or too high → poor contact line.
- Using carbon steel bolts in marine zones → early rust.
- Skipping end caps → cracks start from edges.
- Forgetting to recheck torque after first berthing.
Each mistake can shorten fender life or cause docking damage.
Case Example
At a container terminal in Northern Europe, replacing cylindrical fenders with D type units reduced wall stress by 30% and cut annual maintenance by half.
Correct bolt torque and spacing were key to this success.
Conclusion
Installing D type rubber fenders is not complicated—but it does require care.
Always measure correctly, use the right hardware, and follow a proper tightening sequence.
A well-installed fender will protect your pier for decades and save you serious repair costs.
Call to Action:
Need help choosing or installing the right fender system?
Contact NANHAI for technical drawings and installation advice.