


Inflatable Fender Installation Instructions
12/10/2024Cylindrical Fender
12/12/2024Cleaning Method for Yokohama Fenders
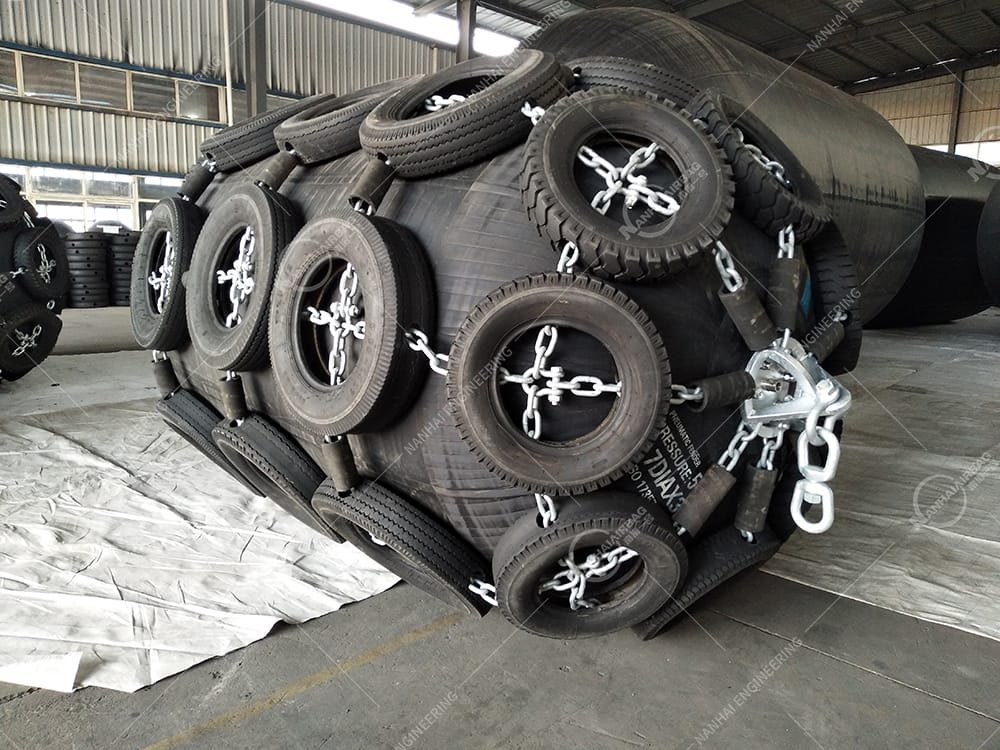
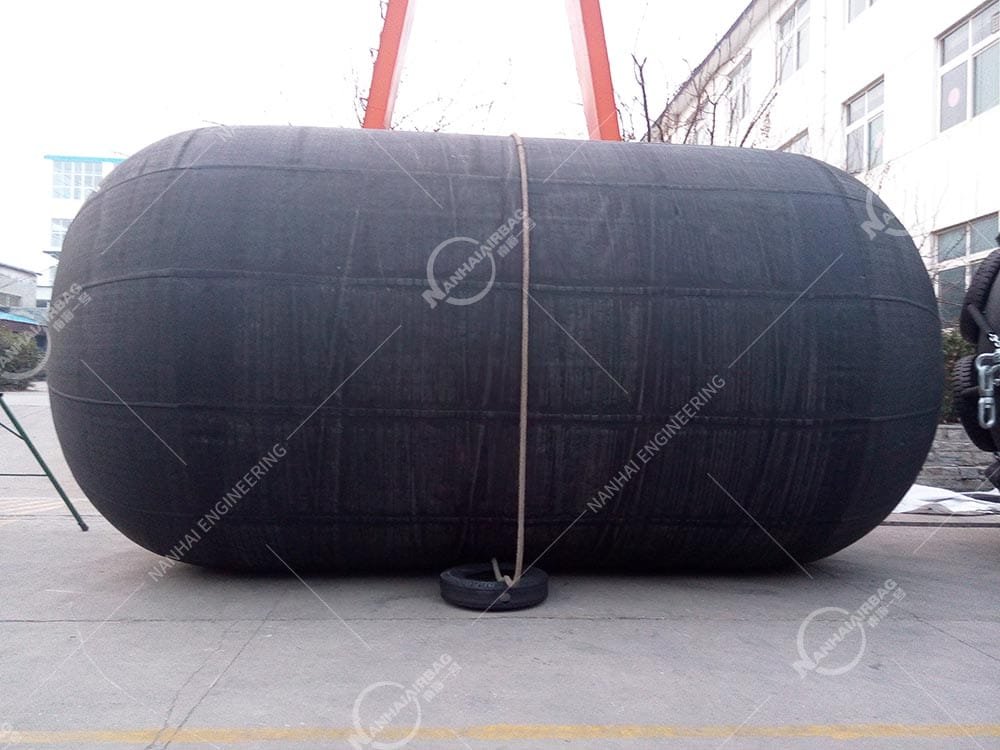
Yokohama fenders are widely used as buffers between ships and docks to prevent collisions. Over time, fenders can accumulate dirt, seaweed, salt deposits, and other contaminants. Regular cleaning is essential to maintain their appearance and extend their service life. Here are the steps and considerations for cleaning Yokohama fenders.
1. Prepare Tools and Materials
Before starting the cleaning process, you will need the following tools and materials:
- Soft-bristled brush: To avoid scratching the fender surface.
- High-pressure water gun: Effective for removing dirt and salt deposits.
- Marine cleaner or mild detergent: For removing stubborn stains.
- Cloth or sponge: For wiping off the cleaner.
- Protective gloves: To protect your hands.
- Freshwater: For rinsing.
- Plastic scraper (optional): To carefully remove stubborn attachments like seaweed or gooey substances.
2. Inspect the Fender’s Condition
Before cleaning, inspect the fender’s overall condition. Ensure there are no obvious damages or cracks. If any damage is found, it is best to repair it before cleaning to avoid worsening the problem.
3. Dry Cleaning
If the fender surface has heavy dirt buildup, you can perform the following steps for dry cleaning:
- Rinse: Use a high-pressure water gun to rinse off salt deposits, dirt, and other loose materials from the fender surface. The water pressure should be even, avoiding too high a pressure that might damage the fender’s surface.
- Brush: Use a soft-bristled brush to gently scrub the fender surface and remove stubborn dirt. Avoid using stiff brushes to prevent scratching the surface.
- Cleaner: For seaweed or tough stains, use a specialized marine cleaner or mild detergent and scrub with a brush. Be cautious not to use harsh chemical cleaners, as they may damage the rubber material of the fender.
4. Remove Attachments (such as Seaweed)
Seaweed and other attachments often adhere to the fender surface. You can use a plastic scraper to carefully remove them. Be gentle when using the scraper to avoid damaging the surface. For stubborn substances, you can apply the cleaner again and scrub.
5. Thorough Rinsing
After cleaning, rinse the fender thoroughly with fresh water to remove any remaining cleaner. Ensure the fender surface is completely clean and free from chemical residues.
6. Check Air Pressure
After cleaning, check the air pressure of the pneumatic fender to ensure it is at the proper level. During cleaning, the air pressure may decrease, so check the valve to ensure there are no leaks.
7. Protective Maintenance
- If the fender surface shows signs of wear or aging, consider applying a fender maintenance product. Some rubber fenders can benefit from a special rubber conditioner to prevent aging and cracking.
- If the fender is exposed to strong sunlight for long periods, regularly apply UV-resistant coatings to protect the material from deterioration.
8. Regular Maintenance
Regular cleaning and inspection are essential to ensure the fender continues to function effectively. It is recommended to perform a full inspection and cleaning at least once a month, especially if the fender frequently comes into contact with ships or docks.
Considerations:
- Avoid using strong acidic or alkaline cleaners during the cleaning process, as these chemicals may damage the rubber material of the fender.
- For larger Yokohama fenders, especially those used at ports or for large vessels, it may be worth hiring a professional cleaning service for regular maintenance.
- Regularly check the pneumatic system of the Yokohama fender to prevent instability caused by accumulated dirt.
By following proper cleaning and maintenance procedures, Yokohama fenders can maintain their appearance and perform efficiently, thus extending their service life.